The goal of this tutorial is to demonstrate how you can create a Gatsby blog site and host it with minimal effort using Cloudflare Pages. Prior to starting, you'll need the following:
- a GitHub account
- a Cloudflare account (free)
- some basic knowledge of html, css, and javascript
Contents
- Installing Node.js
- Installing Gatsby CLI
- Creating a Basic Blog with Gatsby
- Customizing Your Blog
- Creating Posts
- Commit Your Code
- Deploying to Cloudflare
Installing Node.js
Gatsby is built with Node.js and is required in order to utilize. You'll need to have Node.js version 18 or newer installed. The directions below will help you install it based on your appropriate system.
Mac Instructions
It is recommended to utilize Homebrew in order to install Gatsby and Node.js on a Mac. You will also need to ensure that Xcode command line tools are installed.
To install Homebrew:
/bin/bash -c "$(curl -fsSL https://raw.githubusercontent.com/Homebrew/install/HEAD/install.sh)"Install Xcode Command Line Tools
xcode-select --installInstall Node.js
brew install nodeLinux Instructions
Linux will vary slightly based on your distribution. The most universal method is by using curl to install Node Version Manager. This will work for Ubuntu and Debian based distributions as well as Fedora and RedHat distributions.
curl -o- https://raw.githubusercontent.com/nvm-sh/nvm/v0.39.1/install.sh | bashOnce NVM is installed, you will need to set the default Node.js version.
nvm install 20
nvm use 20
Installing Gatsby CLI
The Gatsby CLI provides a tool to create sites and run helpful commands while developing a site.
The following command can be used to install the cli:
npm install -g gatsby-cliSome basic Gatsby CLI commands:
| Command | Description |
|---|---|
gatsby new |
Create a new Gatsby site |
gatsby develop |
Start a local development build of your site |
gatsby build |
Compile the site for deployment to production |
gatsby clean |
Delete .cache and public directories |
gatsby repl |
Open a Node.js interactive shell |
Creating a Basic Blog with Gatsby
There are numerous starter blog sites available to utilize when creating your Gatsby blog. I choose to use the basic gatsby-start-blog for my initial setup.
npx gatsby new my-blog https://github.com/gatsbyjs/gatsby-starter-blogAfter running the above, you can change directories to my-blog and open the generated code in VSCode or your preferred code editor.
cd my-blog
code .
To preview your new blog, run the following in the ternminal and then open up https://localhost:8000 in your preferred browser to view.
gatsby develop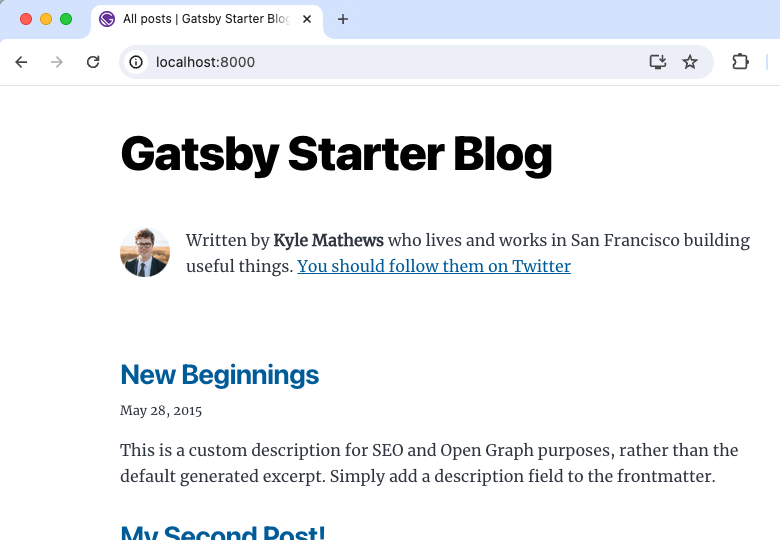
Customizing Your Blog
Your blog is created - congrats! Unfortunately, everything here is not related to you and has a pretty bland, generic style. Let's fix that by making some customizations.
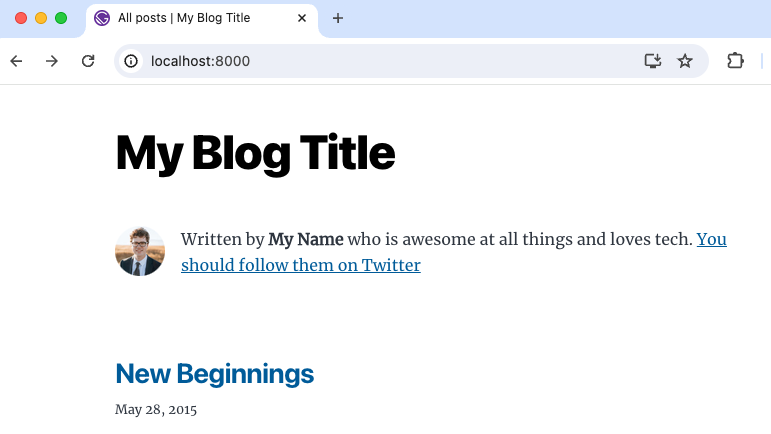
We'll start by changing the name and tagline associated with your blog. To do so, we will edit the siteMetaData provided in gastby-config.js. Below you can see we've edited the title, author information, description, url and social networking handle for Twitter (X).
module.exports = {
  siteMetadata: {
    title: `My Blog Title`,
    author: {
      name: `My Name`,
      summary: `who is awesome at all things and loves tech.`,
    },
    description: `My awesome blog`,
    siteUrl: `https://www.mydomain.com/`,
    social: {
      twitter: `my-twitter-handle`,
    },
  },...
If you've left gatsby develop running, your site will regenrate with your new changes upon save. It should now look something like this:
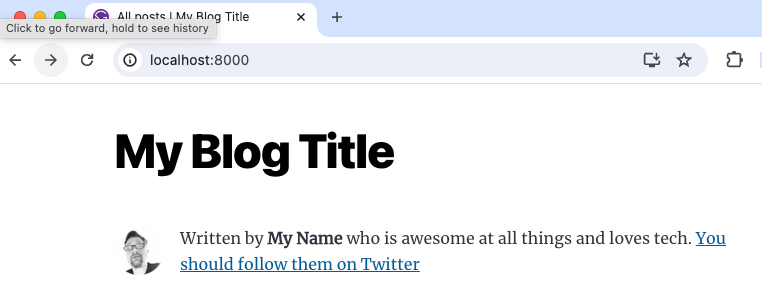
Great, except, that's not my image! To change the image used for the author, add your own image to /src/images/ and then update the <StaticImage> tag in /src/components/bio.js to your desired image.
As an example, I've added an image called profile.jpg to /src/images and updated /src/components/bio.js below:
  return (
    <div className="bio">
      <StaticImage
        className="bio-avatar"
        layout="fixed"
        formats={["auto", "webp", "avif"]}
        src="../images/profile.jpg"
        width={50}
        height={50}
        quality={95}
        alt="Profile picture"
      />
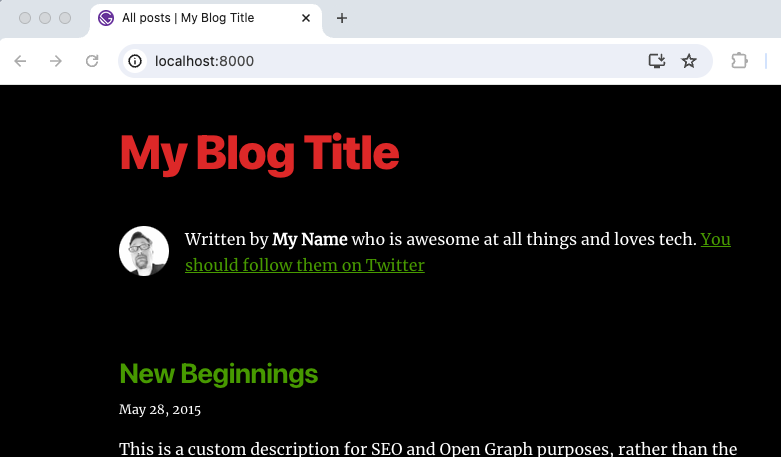
Success! Finally, let's alter some of the styling of our blog. The main CSS stlyle page is found in /src/style.css. We'll do a basic change to some of the colors selected here to get what we'd prefer in place. Below I've changed a few of the values for the --color- options to give a different look. I've also added a background-color to the html{} css.
  ...
  --color-primary: #479900;
  --color-text: #ffffff;
  --color-text-light: #4f5969;
  --color-heading: #1a202c;
  --color-heading-black: #dd2828;
  --color-accent: #d1dce5;
}
...

html {
  background-color: #000000;
  ...
}
Creating Posts
Now that we've made a few style adjustments, let's add some of our own content.
Blog posts are placed as individual folders within the /content/blog/ directory.
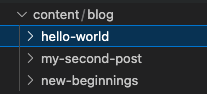
Each directory should contain an index.md that contains the Markdown for your blog post that will be rendered. Here is a basic post. You'll note the initial lines define the title, date and description (for blog listing page). Below that is your content.
---
title: My Post
date: "2024-01-22T10:33:03.284Z"
description: "This is my post description."
---

Here is my content
Commit Your Code
Let's commit our code to a repository in GitHub so that Cloudflare Pages can retrieve it and run in builds. Create a new repository in GitHub and then run the following to push your code:
git remote add origin https://github.com/<your-gh-user>/<repo-name>
git branch -M main
git push -u origin main
Deploying to Cloudflare
-
Login to Cloudflare with your credentials.
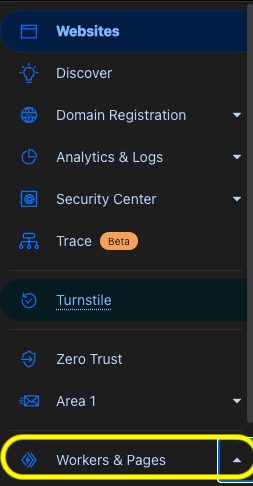
-
In Account Home, navigate to "Workers and Pages" using the toolbar on the left-hand side of the screen.
-
Click "Create application"
-
Select the "Pages" tab and then click "Connect to Git".
-
If you have not previously done anything with Cloudflare Pages, you'll need to click
+ Add Accountto add your Github account. -
You can select specific repositories be viewable for Cloudflare Pages or allow it to view any.
-
After adding your account select the repository you created above where your Gatsby and Node.js code is saved.
-
-
Click Build Setup and then enter your desired project name.
- For build settings, select
Gatsbyfor framework if it was not already prefilled. Your settings should look like below:
- For build settings, select
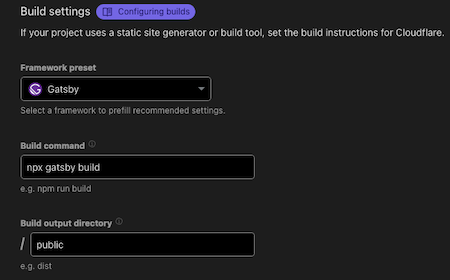
- Click Save and Deploy.